
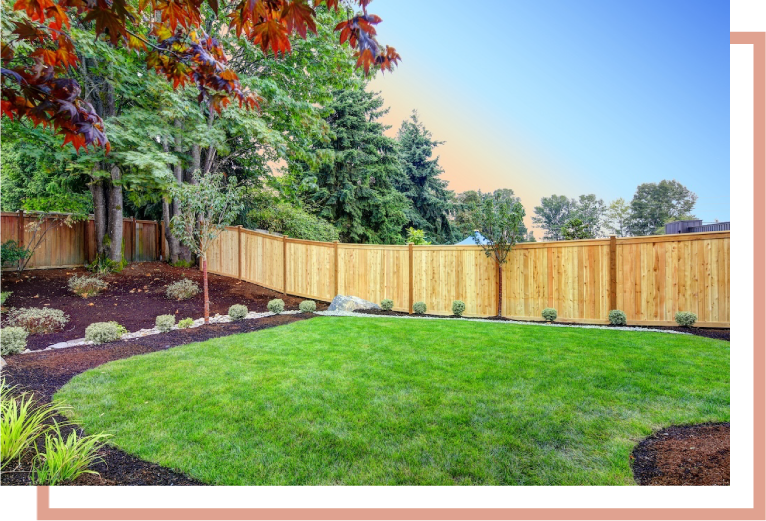

Staining a Cedar Fence: The Complete 2026 Homeowner’s Guide
At Northwest Cedar Fence Company, we’ve installed and maintained over 10,000 fences over the past 20 years. What we’ve observed with cedar fences isn’t complete
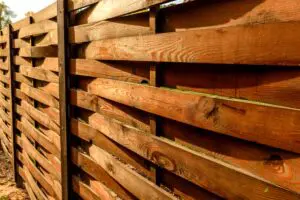
How to Fix a Leaning Fence: A Homeowner’s DIY Guide
In most cases, leaning fences start below ground. Shifting soil and moisture, or a post that was not set deep enough, can pull a fence

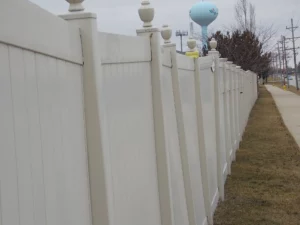
The Chicagoland Spring Fence Guide: Dealing with Salt, Mud, and Melt
If you live in Chicago and have a cedar, vinyl, or aluminum fence, early spring is the time when fence maintenance matters most. Winter’s thaw